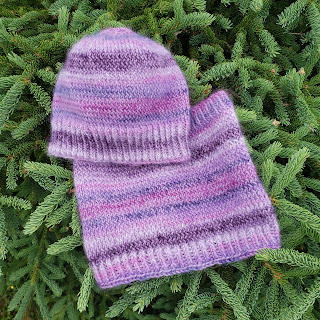
Stash Busters for Christmas Gift Knitting - A simple beanie and matching cowl
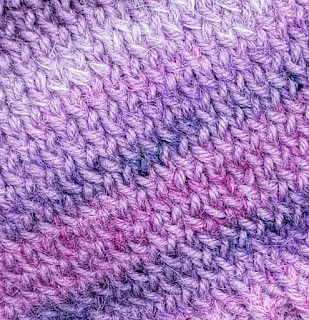
During last year's Christmas holidays, I spent a good deal of time knitting and experimenting with yarns from my stash. I eventually settled on a simple approach to a basic beanie and matching cowl. What makes this set special is the blending of a solid DK (light = 3) wool with a variegated laceweight silk mohair. Held together, the resulting fabric when you knit is a custom color and it has a soft halo as well.


I realized I've been knitting a lot of hats and other small projects leading up to this Christmas and decided to share this pattern for free as I expect lots of folks are looking for ways to cut corners and use their yarn stash to make gift this year.
Note: my patterns are posted for free without annoying advertising pop-ups. I do this on purpose as some people are intimidated by aggressive advertising, and I want my patterns to be available to everyone. If you are in a position to show a little appreciation for my work, consider buying me a coffee ☕️ using the link on the home page. If you wish to knit items for sale using my patterns, please credit me as the designer and do not underprice your work!
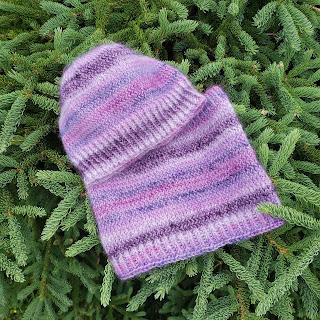
Basic Beanie
Materials
Patons Classic Wool DK - I used about three 3 balls to make both items (you can substitute any brand of double knitting wool). Please note I was working from mt stash, so this is an estimate only.
Sugarbush Drizzle - 2 balls (you can substitute any other laceweight silk/mohair blend)
Tools: 4 mm circular and 4mm double pointed needles for the hat (and 5 mm circular) for the cowl, darning needle, scissors.
Note: a variegated or solid color DK yarn would likely work as well without the addition of another yarn. This pattern is designed as a stash busting pattern, so use what you have. The twisted rib stitch will give it a subtle texture even in a solid color. Just be sure to swatch and adjust your needle size as necessary.

Gauge: 5 stitches and 7 rows = 1 inch in stocking stitch on 4 mm needles (circular)
Abbreviations:
k - knit
p - purl
k2tog - knit two stitches together
k1tbl - knit one stitch trough the back of the loop
co - cast on/cast off sts - stitches
SSK - slip, slip, knit (slip the next two stitches as if to knit, then knit two together through the back of the loops)
Size: to fit a 21-22 inch head. To make larger or smaller deduct or increase multiples of six stitches.
I wanted my beanie to fit fairly snuggly so I cast on 96 stitches (my head measures about 22 inches). For a looser or larger fit cast on 102 stitches. For a smaller size, cast on 90 stitches.

Ribbing: CO loosely 96 stitches on 4 mm circular needles. Join ensuring stitches are not twisted. TIP: To ensure a snug join I cast on one extra stitch and then knit it together with the first stitch in the round.
Begin ribbing: (K1tbl, p) repeating to the end of the round. Place marker between the first and last stitches in the round. Continue knitting in this twisted ribbing stitch for at least 2 inches. If you prefer a wider ribbed band, feel free to rib longer.
Once ribbing is completed, begin the body of the hat.
Body of hat:
Round A: Knit all stitches.
Round B: K1tbl all stitches until you've completed another round.
These two rounds constitute your pattern. you continue alternating between a round of plain knitting stitches and a round of twisting knitting stitches, until your work measures 6 - 6.5 inches in length from the cast on row.
On the last round, place stitch markers every 16 stitches (6 including the round marker). You have effectively divided your knitting into six sections. This will help you keep track of the decreases for the crown. TIP: Be sure your marker for the end of the round is a different color.
Shaping the crown:
As you shape the crown and your stitch count decreases, you may wish to switch to double pointed needles (which is what I did).
Next round: (K1, K2tog, k to last 3 sts, SSK, K1) repeat this 5 more times (once in each section).
Next round: Ktbl all stitches in the round.
Repeat these two rows until you get to 24 stitches remaining.
Next round: (K2tog, SSK), repeat five more times (12 stitches)
Next round: K2tog to end of round. Break yarn leaving at least a 6 inch tail and weave it through the last 6 stitches, and secure all ends.
Dimensions of hat: about 9.5 inches (unstretched), 8 inches from brim to crown peak.

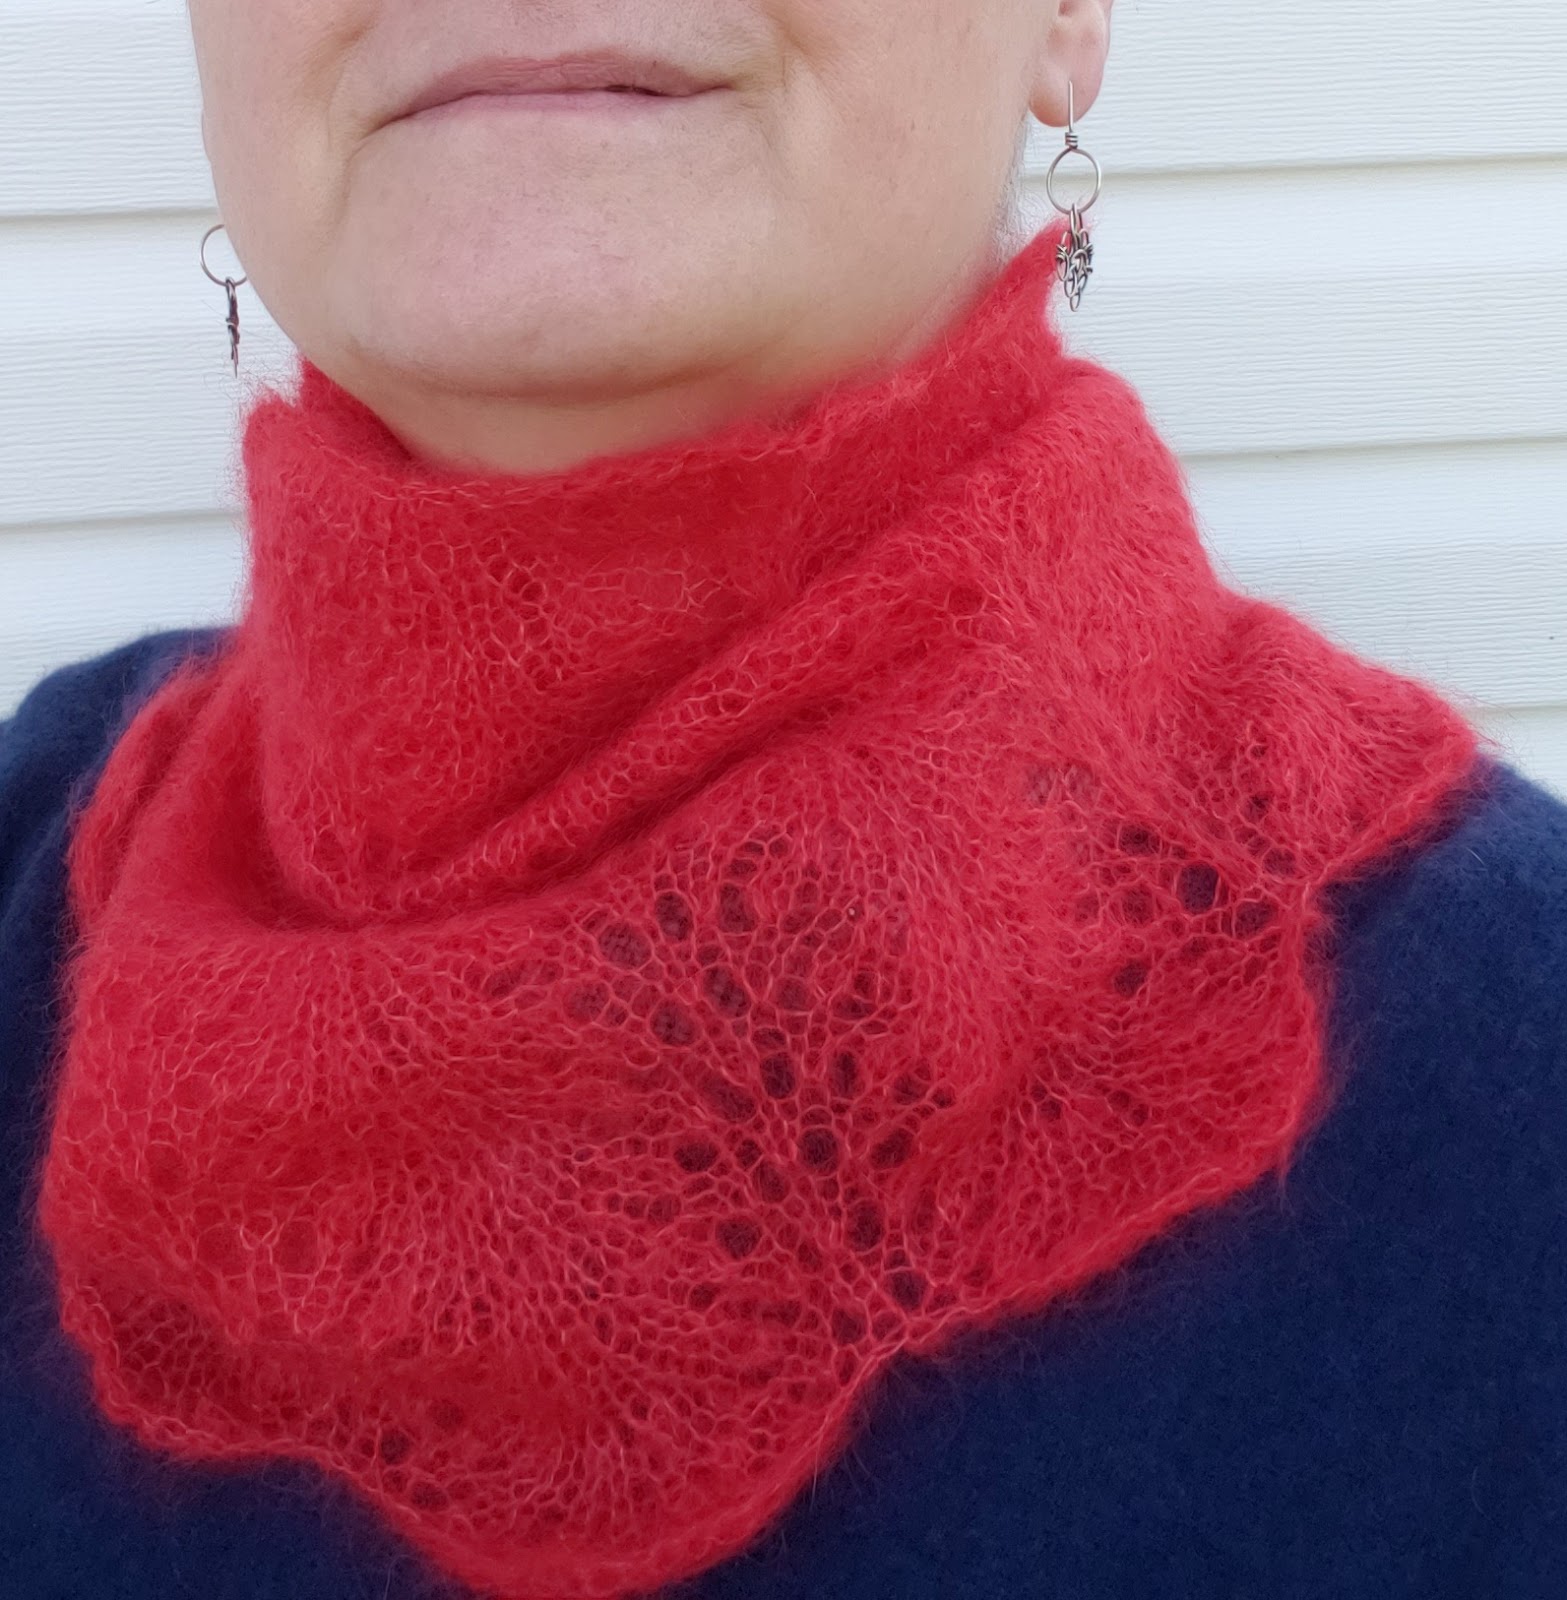
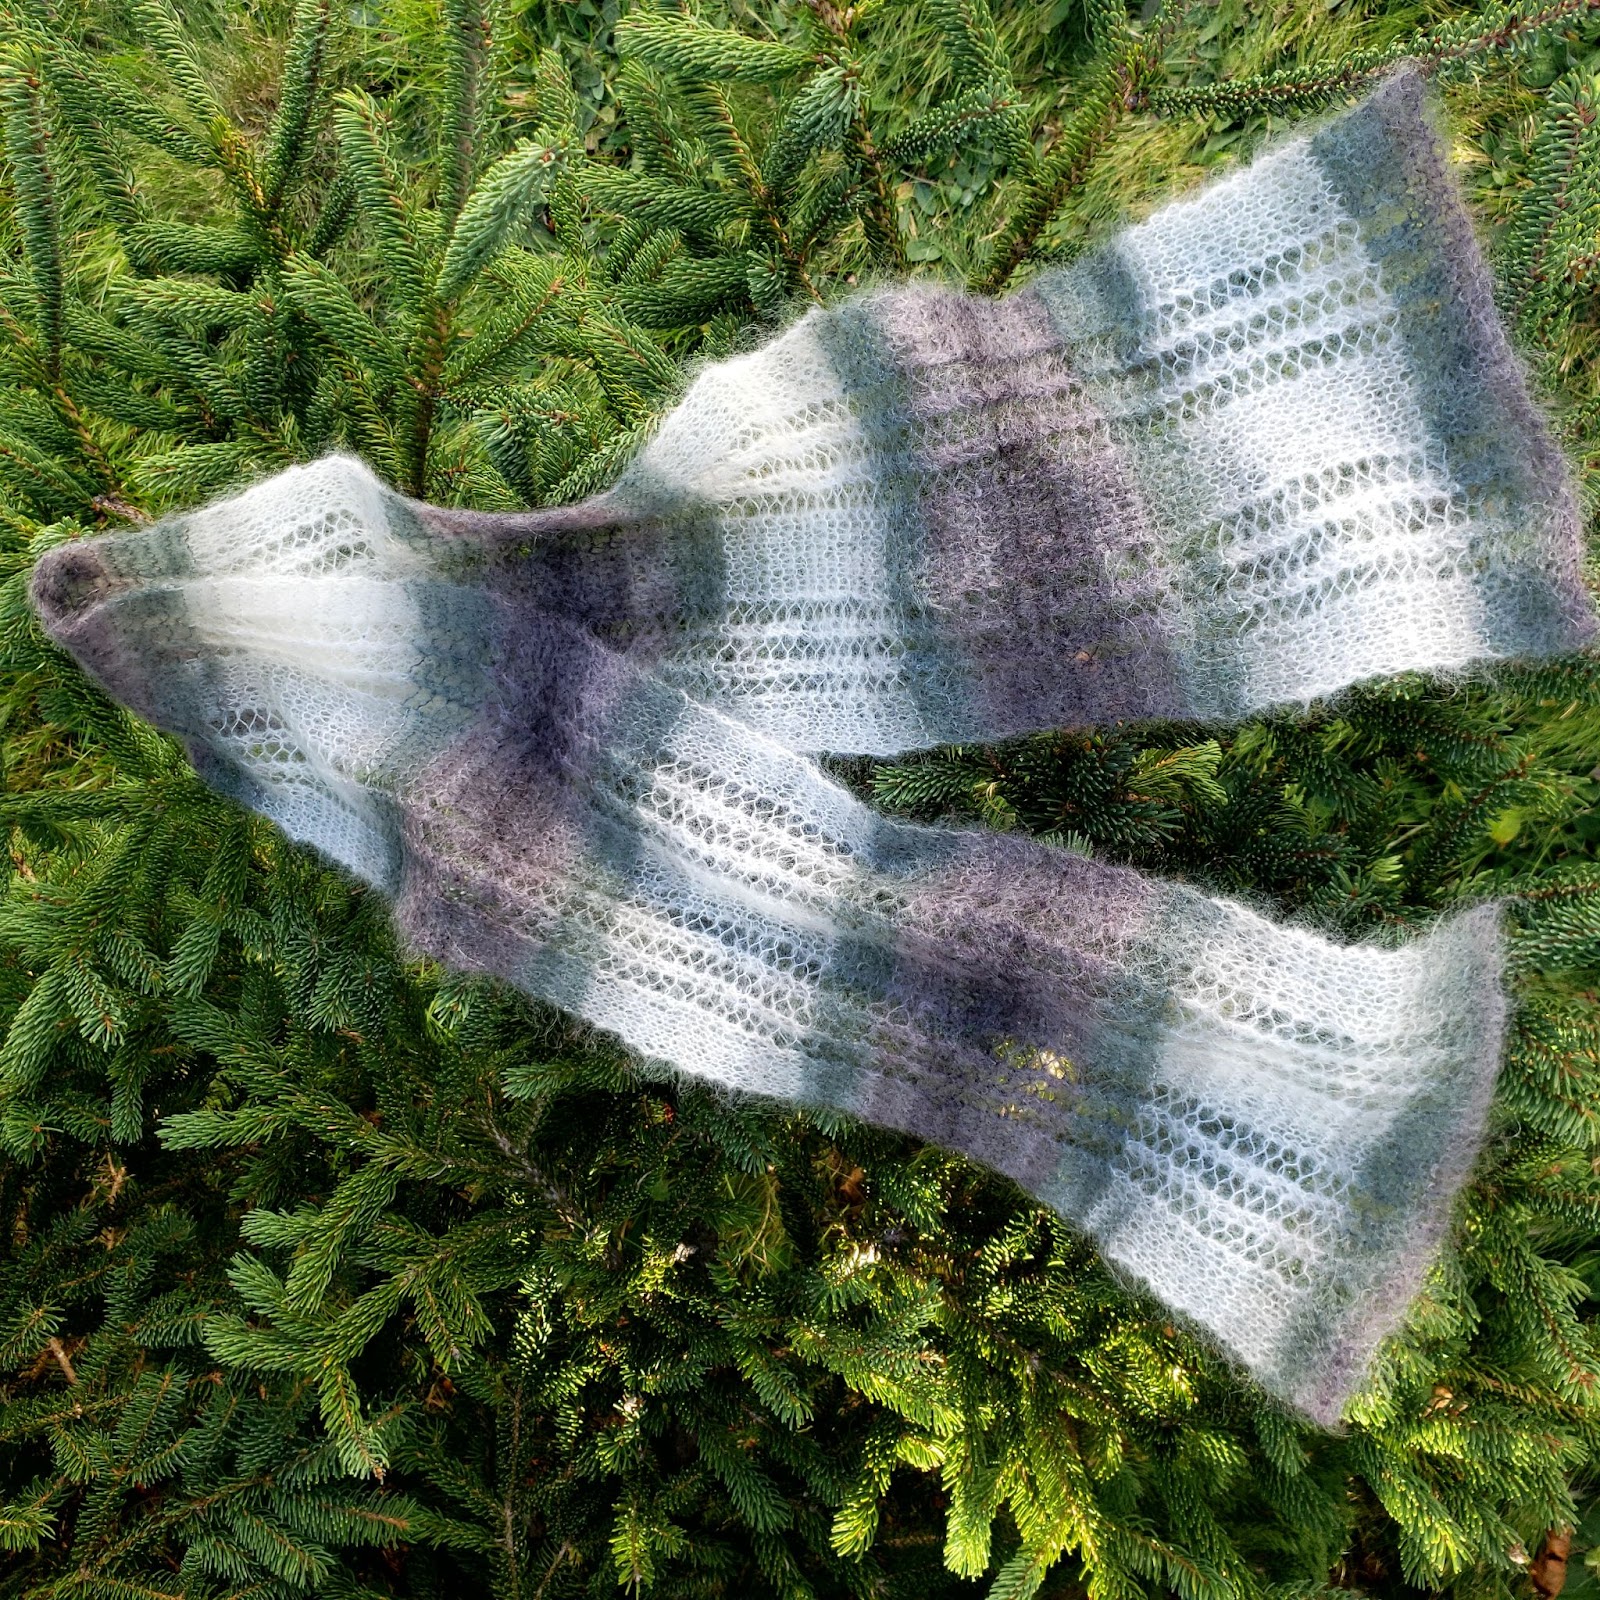
Matching cowl:
The matching cowl was made with the same two strands of yarn, but this time, I used 5 mm needles.
CO loosely 92 stitches on larger 5 mm circular needle. Join and place marker between the first and last stitch.
Rib for 1 inch using the same twisted rib pattern as described for the beanie: (ktbl, p) repeat to end of round.
Once ribbing is completed, begin the body of the cowl.
Round A: Knit all stitches.
Round B: *K1tbl **, and repeat until you've completed another round.
I completed 40 rounds in total, then did another 1 inch of the twisted ribbing. My neck is fairly long, so you may wish to knit fewer rounds before beginning the last 1 inch of twisted ribbing.
Cast off loosely, Weave in all ends.
Cowl dimensions: 10.5 inches wide and slightly over 8 inches tall.


Feel free to use this pattern to make items for gifts or for sale, but please credit me as the pattern designer.
Under the "Free Knitting Patterns" heading on the home page, you can find some other free patterns. Keep checking back as I will add to this list over time.

Comments
Post a Comment