Knitting Firsts: A Simple Laceweight Sweater

Despite just turning sixty, it seems I'm still capable of a few knitting "firsts"!
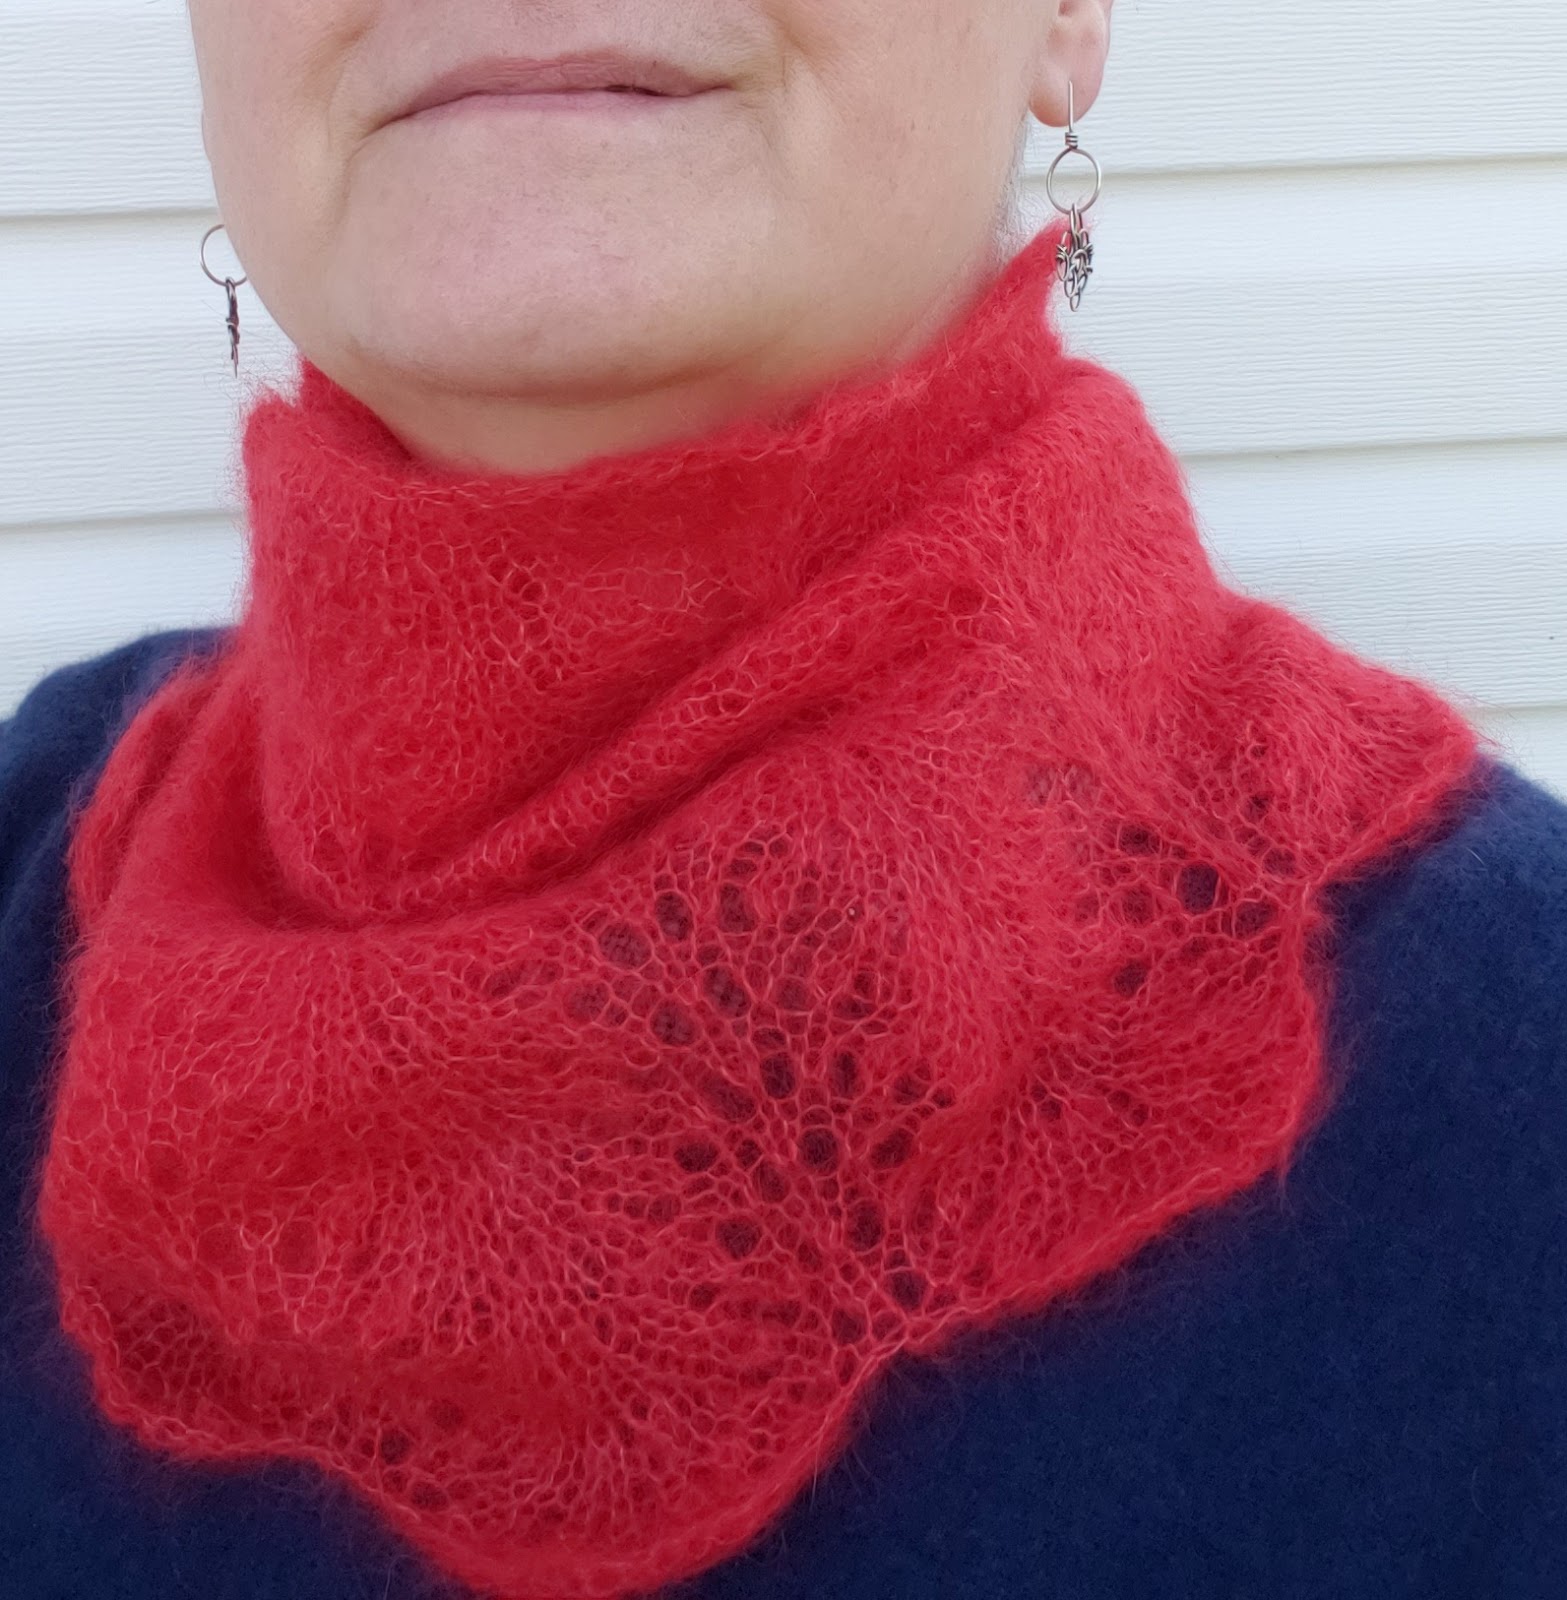
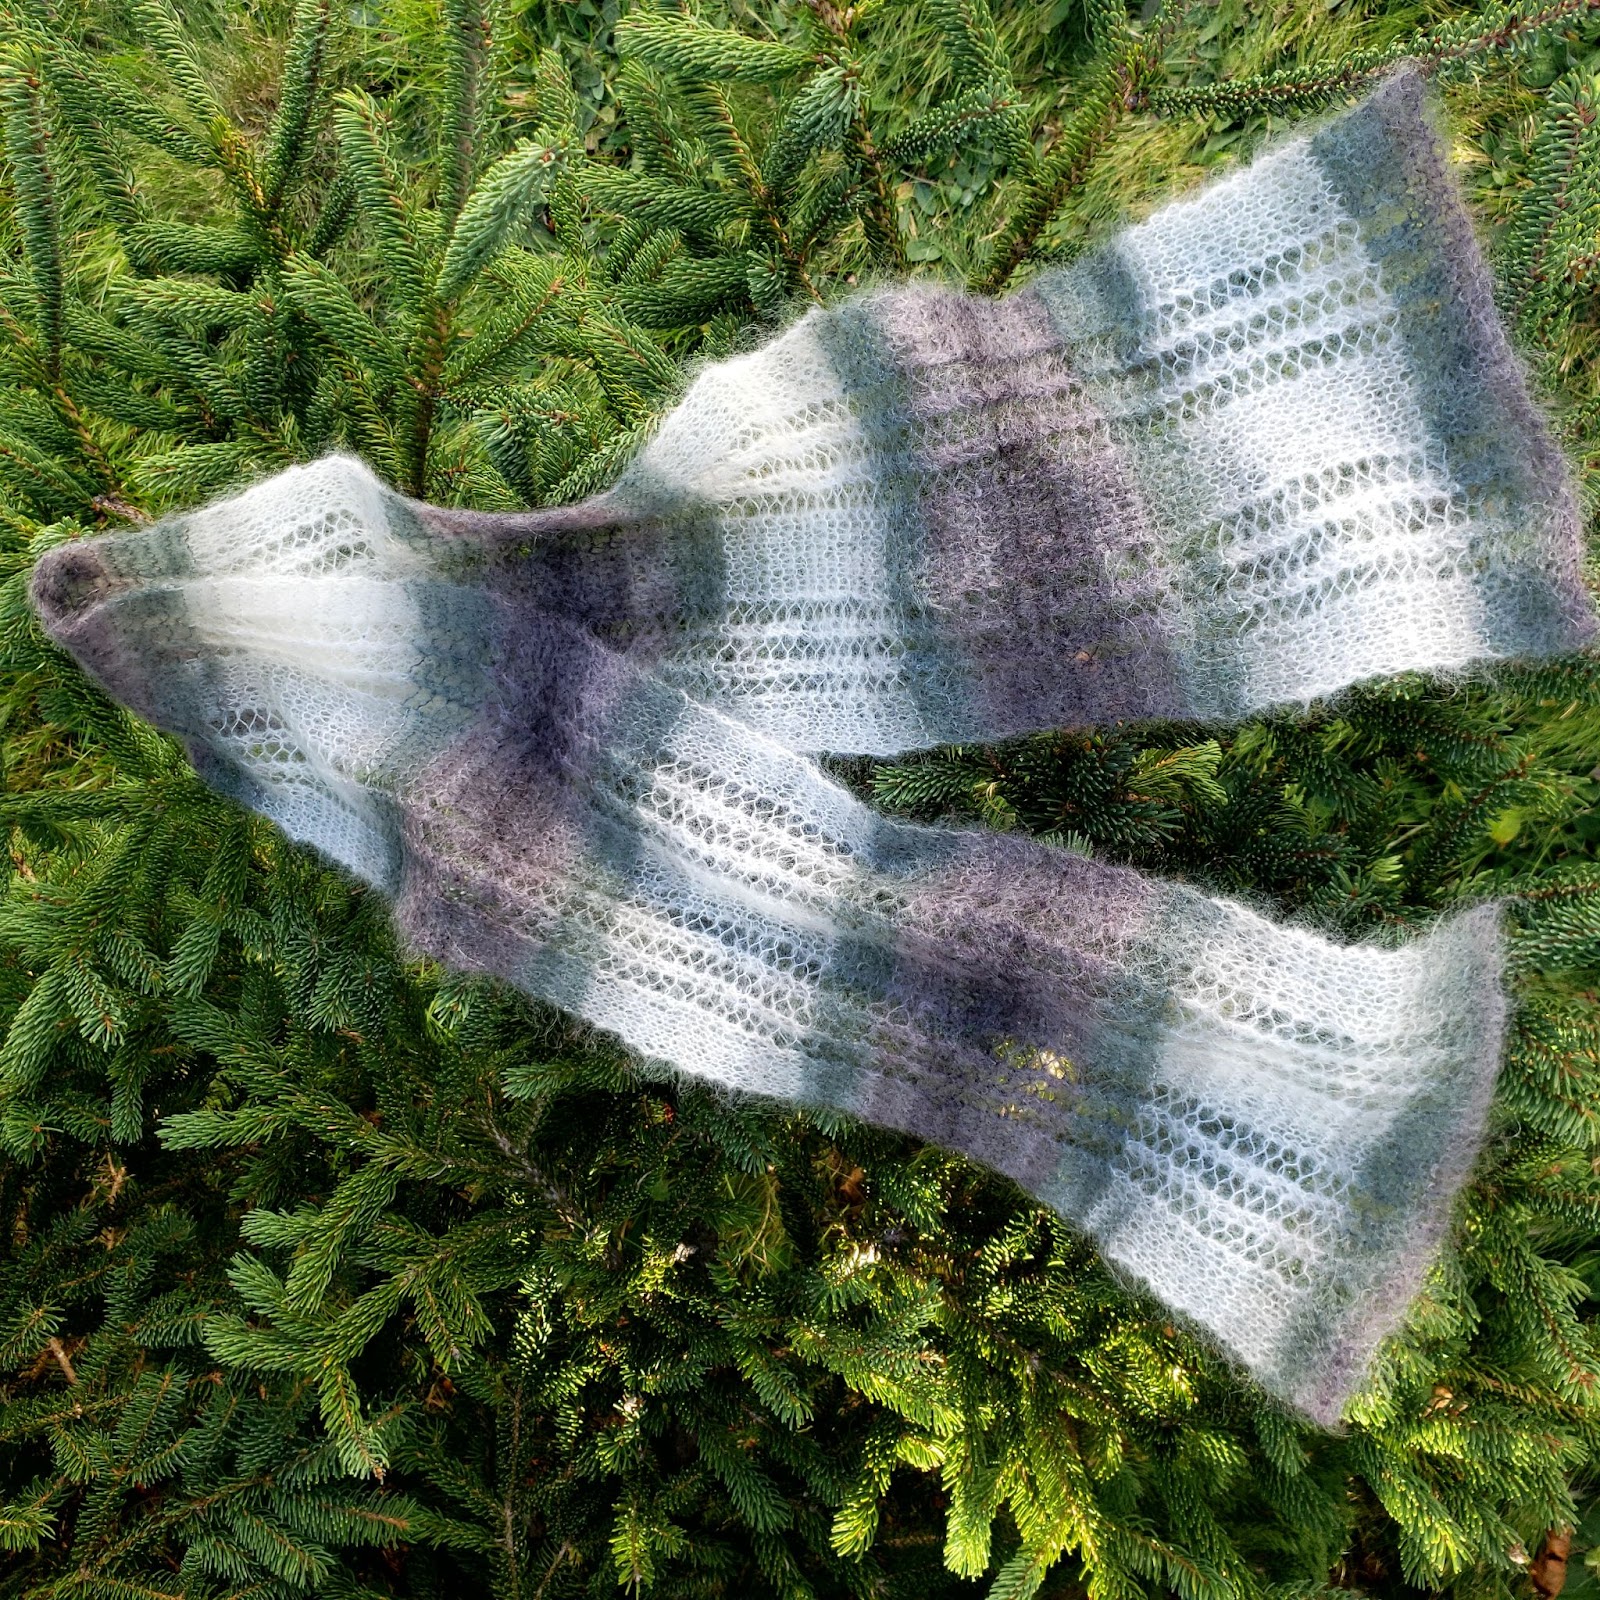
I just finished my first laceweight sweater. Oh I'd knit smaller accessories out of laceweight yarn such as cowls, a shawl, and scarves, but never anything this large.
I had a quantity of Sugar Bush Drizzle in a variegated colorway - Beriwinkle Puddle - and decided to see what I could do. I even bought a pattern, which I promptly did not use as I didn't think the yarn would suit afterwards.
Undeterred, I knit a swatch on 3.25 mm needles and liked what I got. I know that a lot of laceweight patterns call for 4mm and larger needles, but I just don't like the resulting fabric. Seems more like fish-net than fabric to me.
I decided since this was my first sweater attempt and mohair and silk really doesn't like being taken back once knitted, I'd keep things simple. Initially I planned for a sleeveless shell, something long and lean, almost 1920s inspired. I cast on my stitches and after the first ball change I realized there was a fair bit of difference in the striping pattern despite all being of the same dye lot. It seemed more playful and whimsical than the shell I first envisioned.
So, I hauled out my phone, a pen and some paper. Opted for a hip length, drop shoulder, t-shirt with a boatneck and wider sleeves. Minimal shaping meant a relaxed fit garment, perfect for layering, and fewer opportunities for things to go sideways.
Fine yarn requires patience, but the lighter weight means my hands don't tire as quickly and the fiber is absolutely divine running through your fingers. Took me a couple of weeks, doing a little bit almost every day, but I finished it last weekend.
I decided to publish instructions for it as I believe anyone who has basic knitting skills can likely pull this off.
Happy knitting!
My First Lace Weight Sweater Pattern
Materials: 5-7 balls of Sugar Bush Drizzle of comparable mohair and silk laceweight yarn. I used 125 grams or 5 balls to make my sweater, and I'm a 43" bust and have at least 2 inches of ease. I'm 5'11' and the sleeves reach my elbows. If you want a long body or sleeves you may need additional yarn.
You will also need:
3.25 mm circular needles in 16" and 24"
tapestry needle and scissors for finishing
stitch markers (I used two)
waste yarn in a contrasting color
ruler (to measure your gauge swatch)
small straight needle to help you count stitches and rows.
measuring tape (to take your bust and hip measurements
paper and pen
Abbreviations used:
sl - slip stitch from one needle to the other
st - stitch K - knit P - purl psso - pass slipped stitch over

How many stitches do I need? This question can only be answered by taking your measurements, knitting a swatch and determining your gauge, and doing a little math.
Start by measuring your hips and bust. Measure around the fullest part of your bust while wearing your usual undergarments. Then measure your hips where you want the sweater to fall. If you want a high hip, measure there. If you want mid or low hip, measure there. Record your measurements.
Measure! Knit your gauge swatch. Cast on at least 24 stitches, 30 would be better and work for at least 24-30 rows. A larger swatch helps you get a better average per inch.
If you actually measure your stitch and row counts over only one inch in different places on your swatch, you may find some variation in your count. (I know my tension is never perfect!) By taking a stitch and row count over 3 or 4 inches and then dividing to get the count per inch, you stand to get a more accurate read on your gauge.
If you can, make your swatch, dampen it and lay it out flat to dry overnight, then take your gauge measurements. That will help you get some sense of how the yarn will relax when blocked and ensure a more accurate reading.
Once you have your gauge and body measurements you can figure out how many stitches you need. As this is a drop shoulder garment, use whichever measurement is larger (bust or hip). The garment is meant to hang straight down from the shoulders. My shoulders are the widest part of me and are a good match for my hip measurement, so I went with that. Measure from your hip to where you want the armhole to begin, and record this measure. Then measure from the armpit to the top of your shoulder. Record that as well.
Then you add a measurement of the ease you want the garment to have. This garment is designed with positive ease so it should be bigger than you are, so it can "float" over your body. Given the lightness of the knitted fabric, and my intention to layer it over something else, I went for about 3 inches of ease.
Now for the math:
my gauge (5.75 sts per inch) x (my widest body measurement plus the desired ease - 43 + 3 inches)
5.75 x 46 = 264.5 I rounded this to 264 stitches.
It is also important that your total stitch number is divisible by 4, as that is a requirement for the mock cable ribbing I chose to use. In my case, 264/4 = 66. Perfect for my chosen pattern stitch.
If your desired number of stitches is a little off, just add or subtract a few stitches until you get a number divisible by 4.
Note: You do not have to do the pattern bands if you'd rather not. A simple K2, P2 ribbing would also work fine.

Continue in K2, P2 ribbing for four rounds. Then begin the mock cable pattern as follows:
Round 1: (K2, P2) to end of round.
Round 2: (K1, yo, K1, P2) to end of round.
Round 3: (K3, P2) to end of round.
Round 4: (sl1, K2, psso, P2) to end of round
Repeat this four round pattern four more times (five pattern repeats in total beyond your initial ribbing).
Then complete four more rounds in (K2, P2) ribbing. (Note if you opted for plain ribbing, you will have to complete 24 rounds of ribbing to get a similar distance.)
Your sweater bottom band is done! On the next round, begin knitting every stitch. Continue in stocking stitch until you sweater reaches from your desired hip level to where you want the armhole to begin. For me, this was 13.5 inches. Check the measurements you recorded to be sure.

Next row, knit from your first stitch marker (end of round) to the halfway marker. Slide the remaining stitches (which I'll call the back of your sweater), onto a spare circular needle or some waste yarn, as you will not work these again until you finish the front.
With the front facing you, turn your knitting so you are now looking at the inside of the side you just knit across. purl back.
Next row: Sl 1, knit across to the last stitch, Sl 1.
Next row: Purl all stitches.
Repeat these two rows until you are about 2- 2.5 inches away from the armhole measure you took. I continued for about 8 - 8.25 inches before commencing the ribbed band for the shoulders and neck band. I ended with a knit row so the wrong side would be facing me next.
Complete four rows of (K2, P2) ribbing.
Note: if you opted for plain ribbing, you can start on a right side row with (K2, P2) ribbing and continue until you reach your full desired armhole depth.
Starting on the wrong side of your work, work the mock cable pattern as follows (note it is different because now you are working back and forth instead of in the round).
Row 1: (K2, P2) to end of row
Row 2: (P2, K1, yo, K1) to last 2 stitches, P2
Row 3: (K2, P3) to end of round.
Row 4: (P2, sl1, K2, psso) to last two stitches, P2.
Complete these four rows twice more (three in total)
Next: Then complete four more rows of (K2, P2) ribbing and cast off in ribbing (i.e. knit the knit stitches and purl the purl stitches before casting off). Be sure to cast off loosely but neatly.
With the right side of the back of your sweater facing you, join your yarn and know across. Turn your work so the wrong side is now facing you and complete as you did for the front.
Once the front and back are completed, you can sew your shoulder seams. I started from the outside edge and sewed toward my neck, opting to do 3 inches on both sides without securing my yarn, so I could try it on and decide how much further in I needed to sew. It is a boat neck, but your bra straps should be covered. If you have narrow shoulders and want to sew more, just be sure to leave enough so it goes comfortably over your head.
Sleeves: Lay your sleeveless garment out flat on a table, carefully smoothing it out with your hands. With your tape measure, figure out the circumference of the arm hole (or the depth). Using your stitch count from your gauge swatch and the armhole measurement, you can figure out how many stitches you need to pick up for your sleeve.
In my case, my sleeve hole measured almost 11 inches in depth (close to 22 inches around). Since my gauge measure was 5.75 sts per inch, I would need around 126.5 stitches. Because I wanted to put the mock cable ribbing on my sleeve end, I rounded down to 124 stitches (which is divisible by 4). If you are opting for plain (K2, P2) ribbing your stitch number should still be divisible by four.
Starting at the bottom of the armhole, I picked up 62 stitches for the back, inserted a stitch marker at the halfway mark), then knit 62 stitches down the front.
TIP: It is really hard to get the right number of stitches on the first try. what I do to help myself out is I mark the halfway point up each side of the armhole with a scrap of waste yarn, to give me a reference point as I'm picking up stitches. Even then sometimes I end up with a few too many or too few. Since this yarn is very fine and there is no pattern by the arm pit, I sometimes make adjustments on the first knit around after picking up stitches, increasing and decreasing as needed, spread evenly around. If you're only out by a couple of stitches you may be able to "hide" your adjustments at the bottom of the armhole.
Determining the sleeve length: This will vary from person to person. Because this is a drop shoulder sleeve the outside will hang higher than the inside of the sleeve when you try it on.
I knit for 6 inches then started trying it on every inch or so. I planned to do a mock cable like I did on the neckline, so I stopped at 8.5 inches then knit as for the sweater band.
Knit 4 rounds of (K2, P2) ribbing
Round 1: (K2, P2) to end of round.
Round 2: (K1, yo, K1, P2) to end of round.
Round 3: (K3, P2) to end of round.
Round 4: (sl1, K2, psso, P2) to end of round
Repeat this two more times (total of three repeats). Then do four more rounds of (K2, P2) ribbing. I cast off loosely in ribbing then started the second sleeve as I'd done the first.
Once you've finished both sleeves, weave in the ends remaining on your garment. If you wish to block it, dampen it and lay it out on a towel to dry away from direct heat.
Congrats! You're done!
This garment is the same front and back, so you can't put it on backwards. :-) It is a great first sweater project as the construction is simple and with the ease it is forgiving. Be sure to follow the care instructions on your yarn band to ensure your sweater lasts. Take pride in your accomplishment and teh fact that you now own a mohair and silk sweater as light as a cloud!
If you have any questions about these instructions, please email me at theknittedraven@gmail.com
Happy knitting!


Comments
Post a Comment