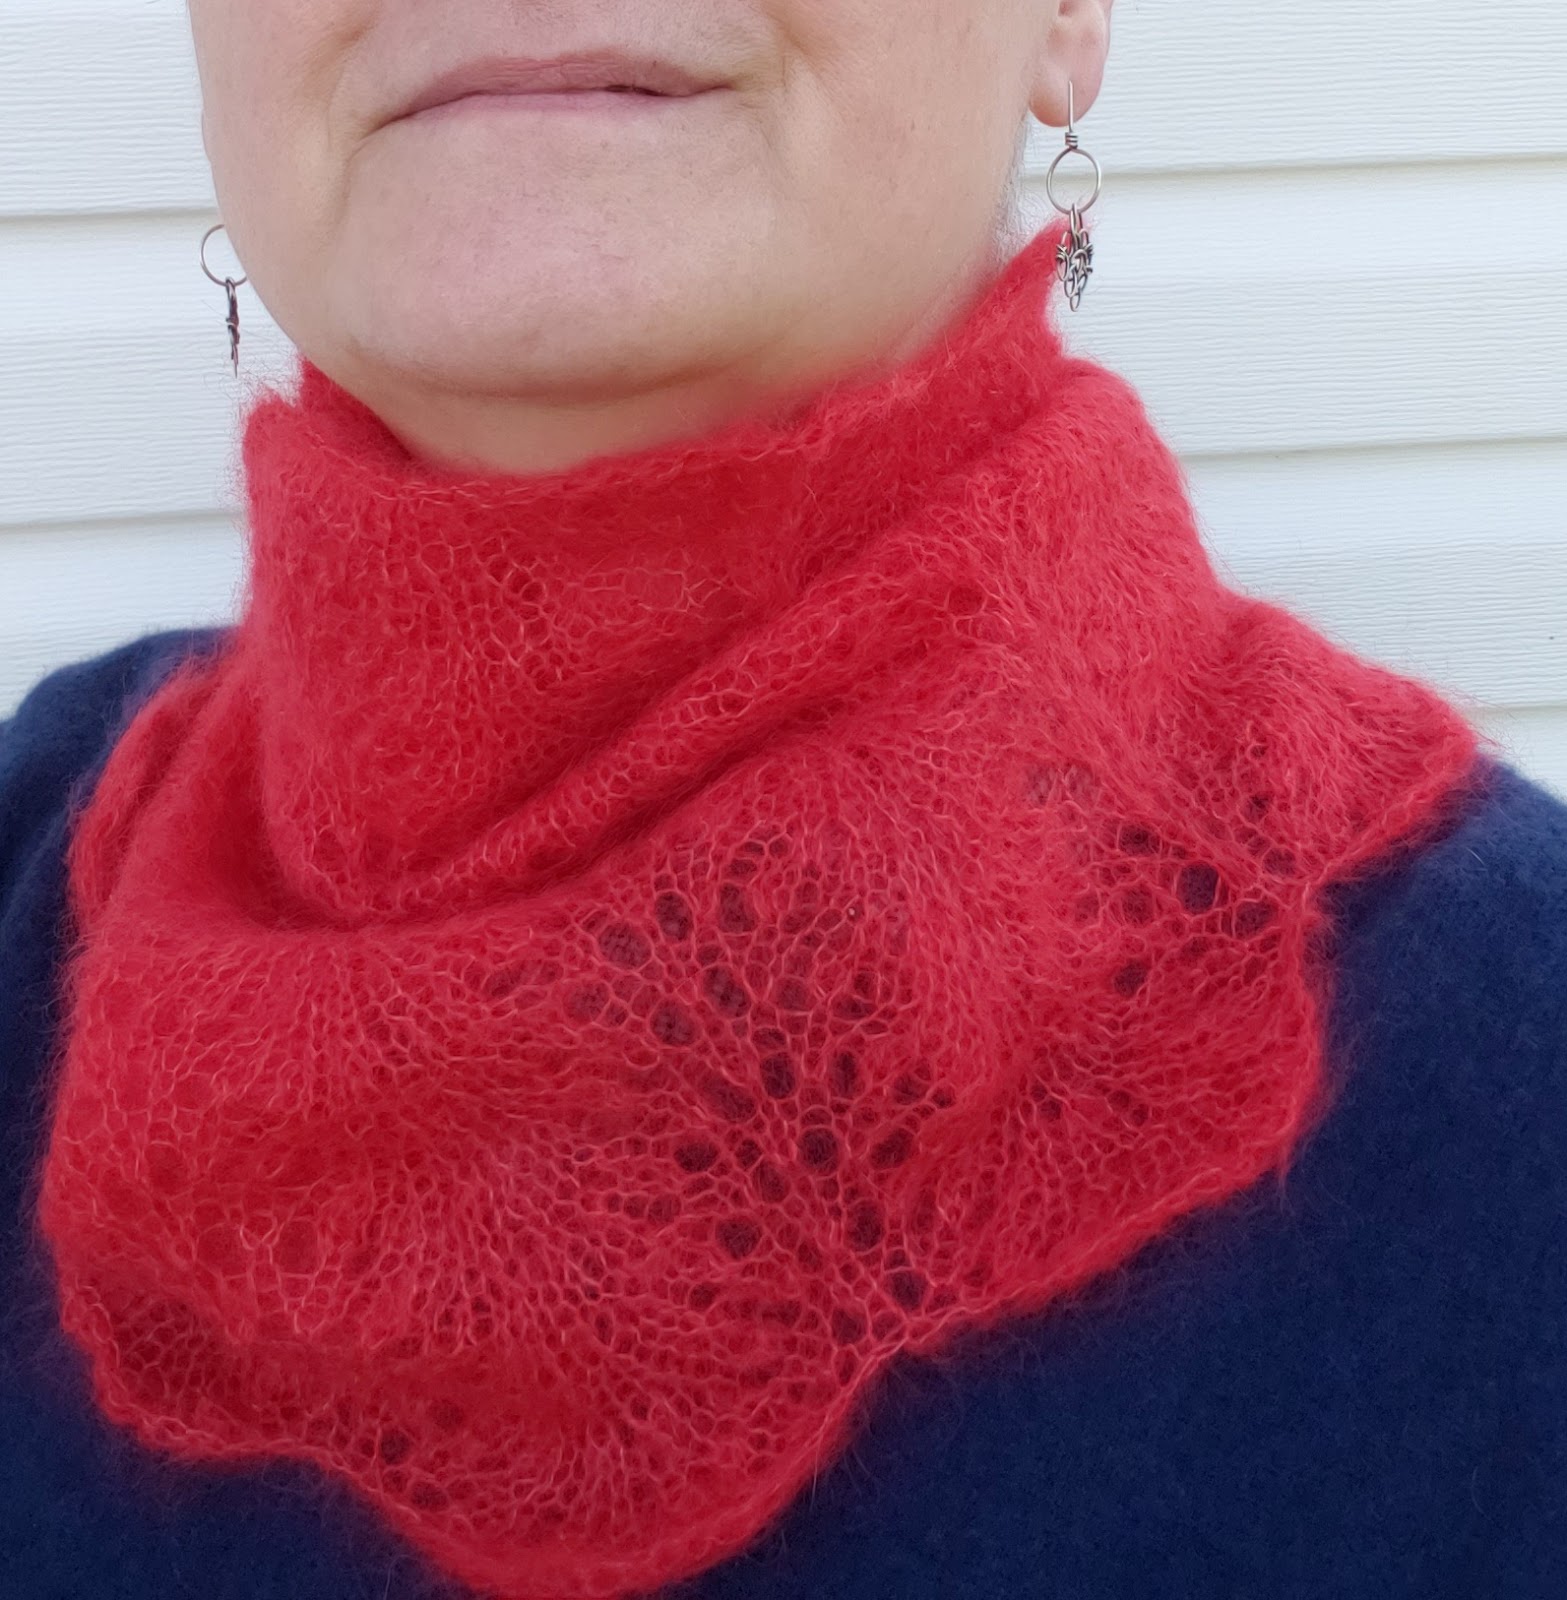
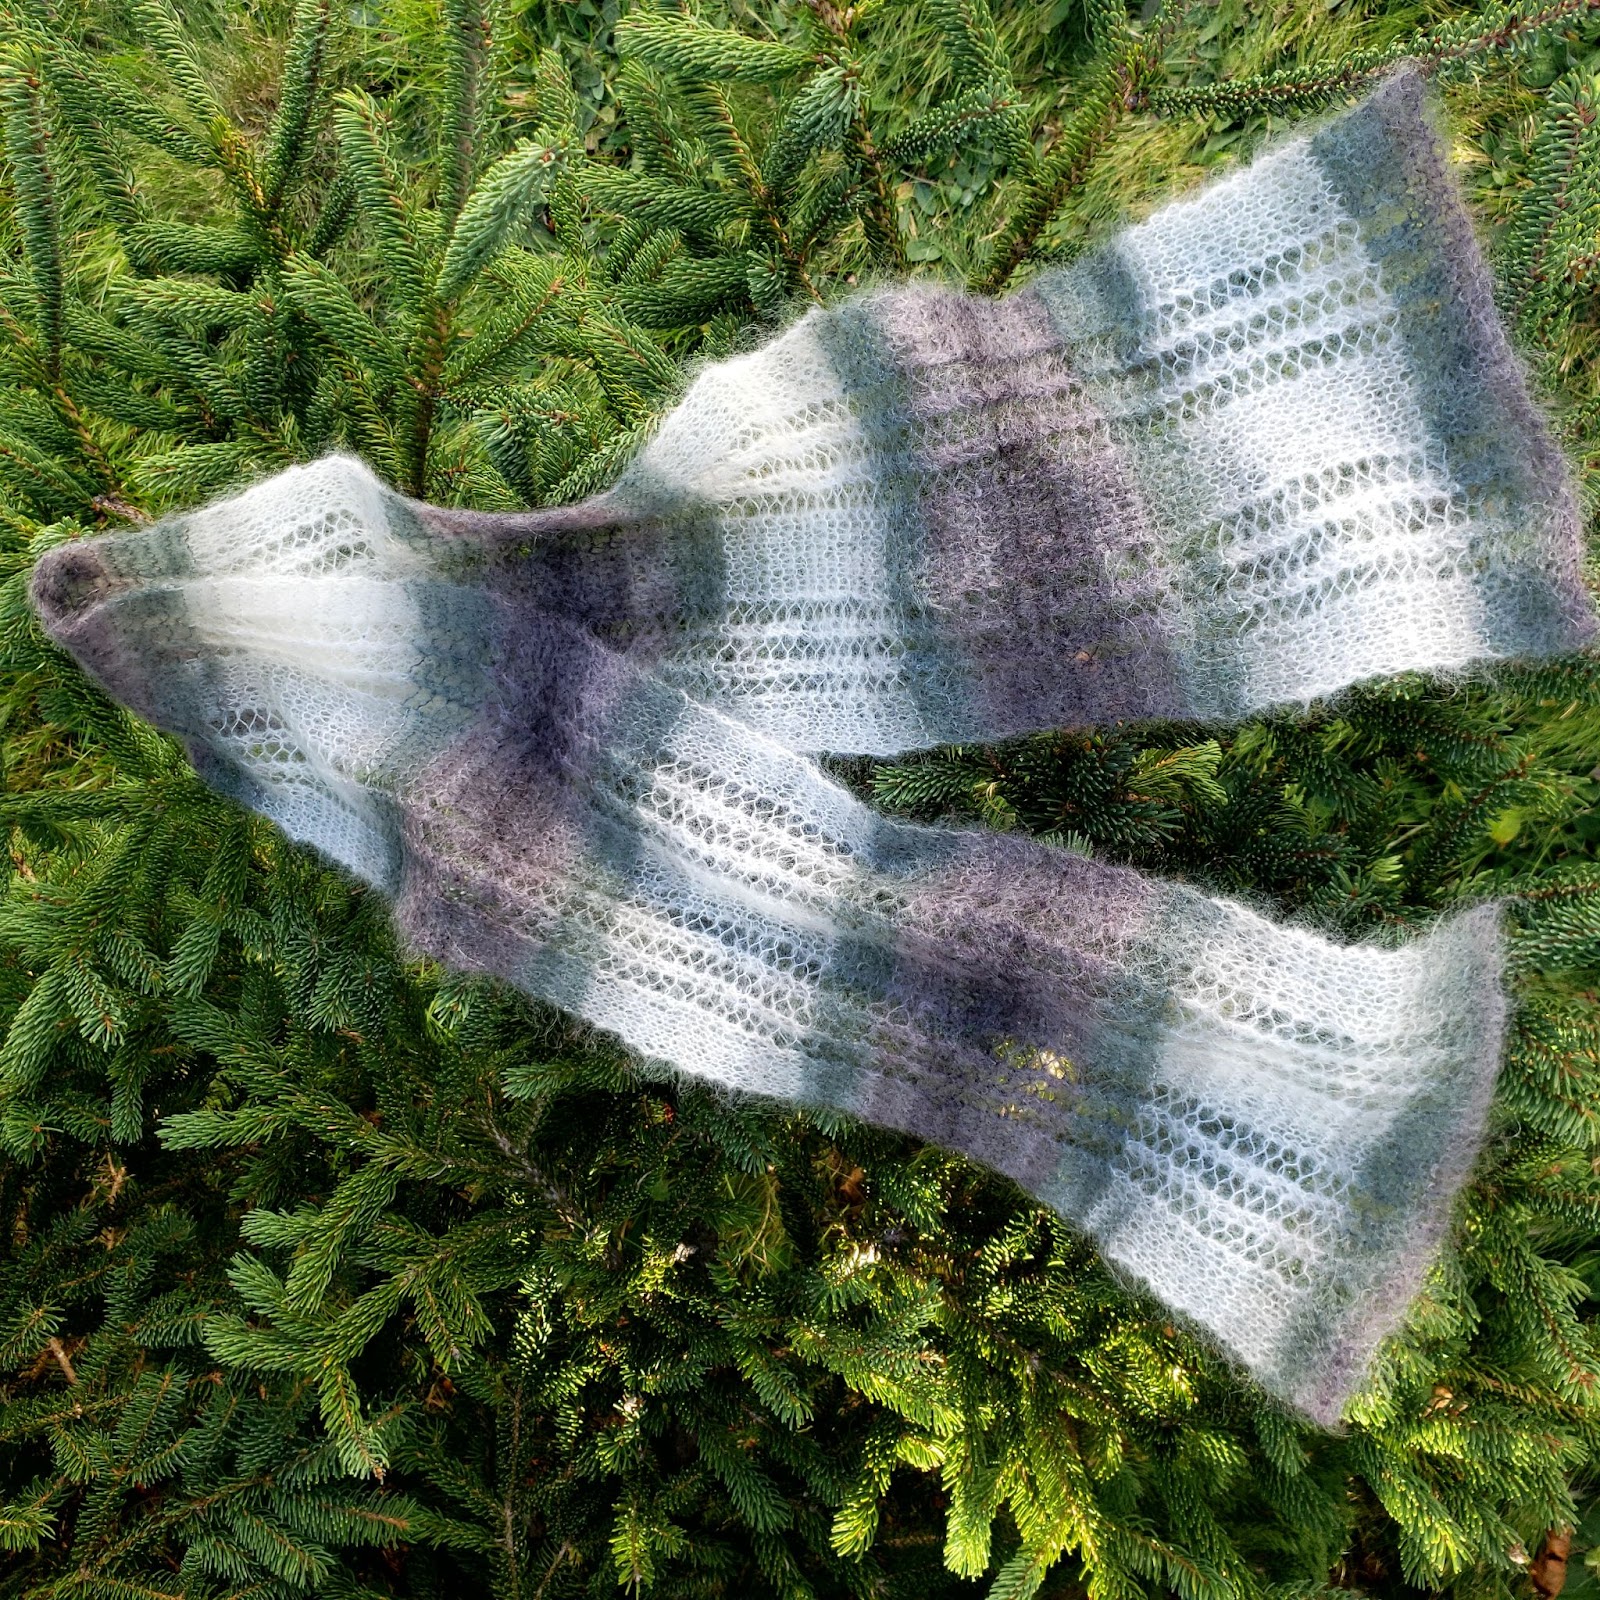
The Knitter's Kozy - A Free Stashbuster Knitting Pattern
I have been a fan of Holly Chayes and her work on Shawl Geometry for some time. It was several years ago that I discovered her blog and became fascinated with the formula for the crescent shawl. Almost all the shawls I made over a 2-3 year period were constructed using this formula as a base.
Recently I went back to her blog and discovered she has several books out. The second book was of particular interest to me as I am trying to better understand the top-down construction of garments with circular yokes. I was looking for a stash busting project to use up yarn leftover from two past sweater projects and had already decided on a shawl of some kind. When I saw the formula for the Octagon Donut, I knew I had found my inspiration!

The Octagon Donut formula starts with a cast-on large enough for the desired “hole” in the middle, followed by regular increases, spaced evenly around the circle. As Holly points out, the first thing you need to do is make a gauge swatch so you know how many stitches and rows per inch you are working with. Next you need to take a few body measurements. Once you have this information you can make the simple calculations to determine your cast on, desired length and final stitch count.
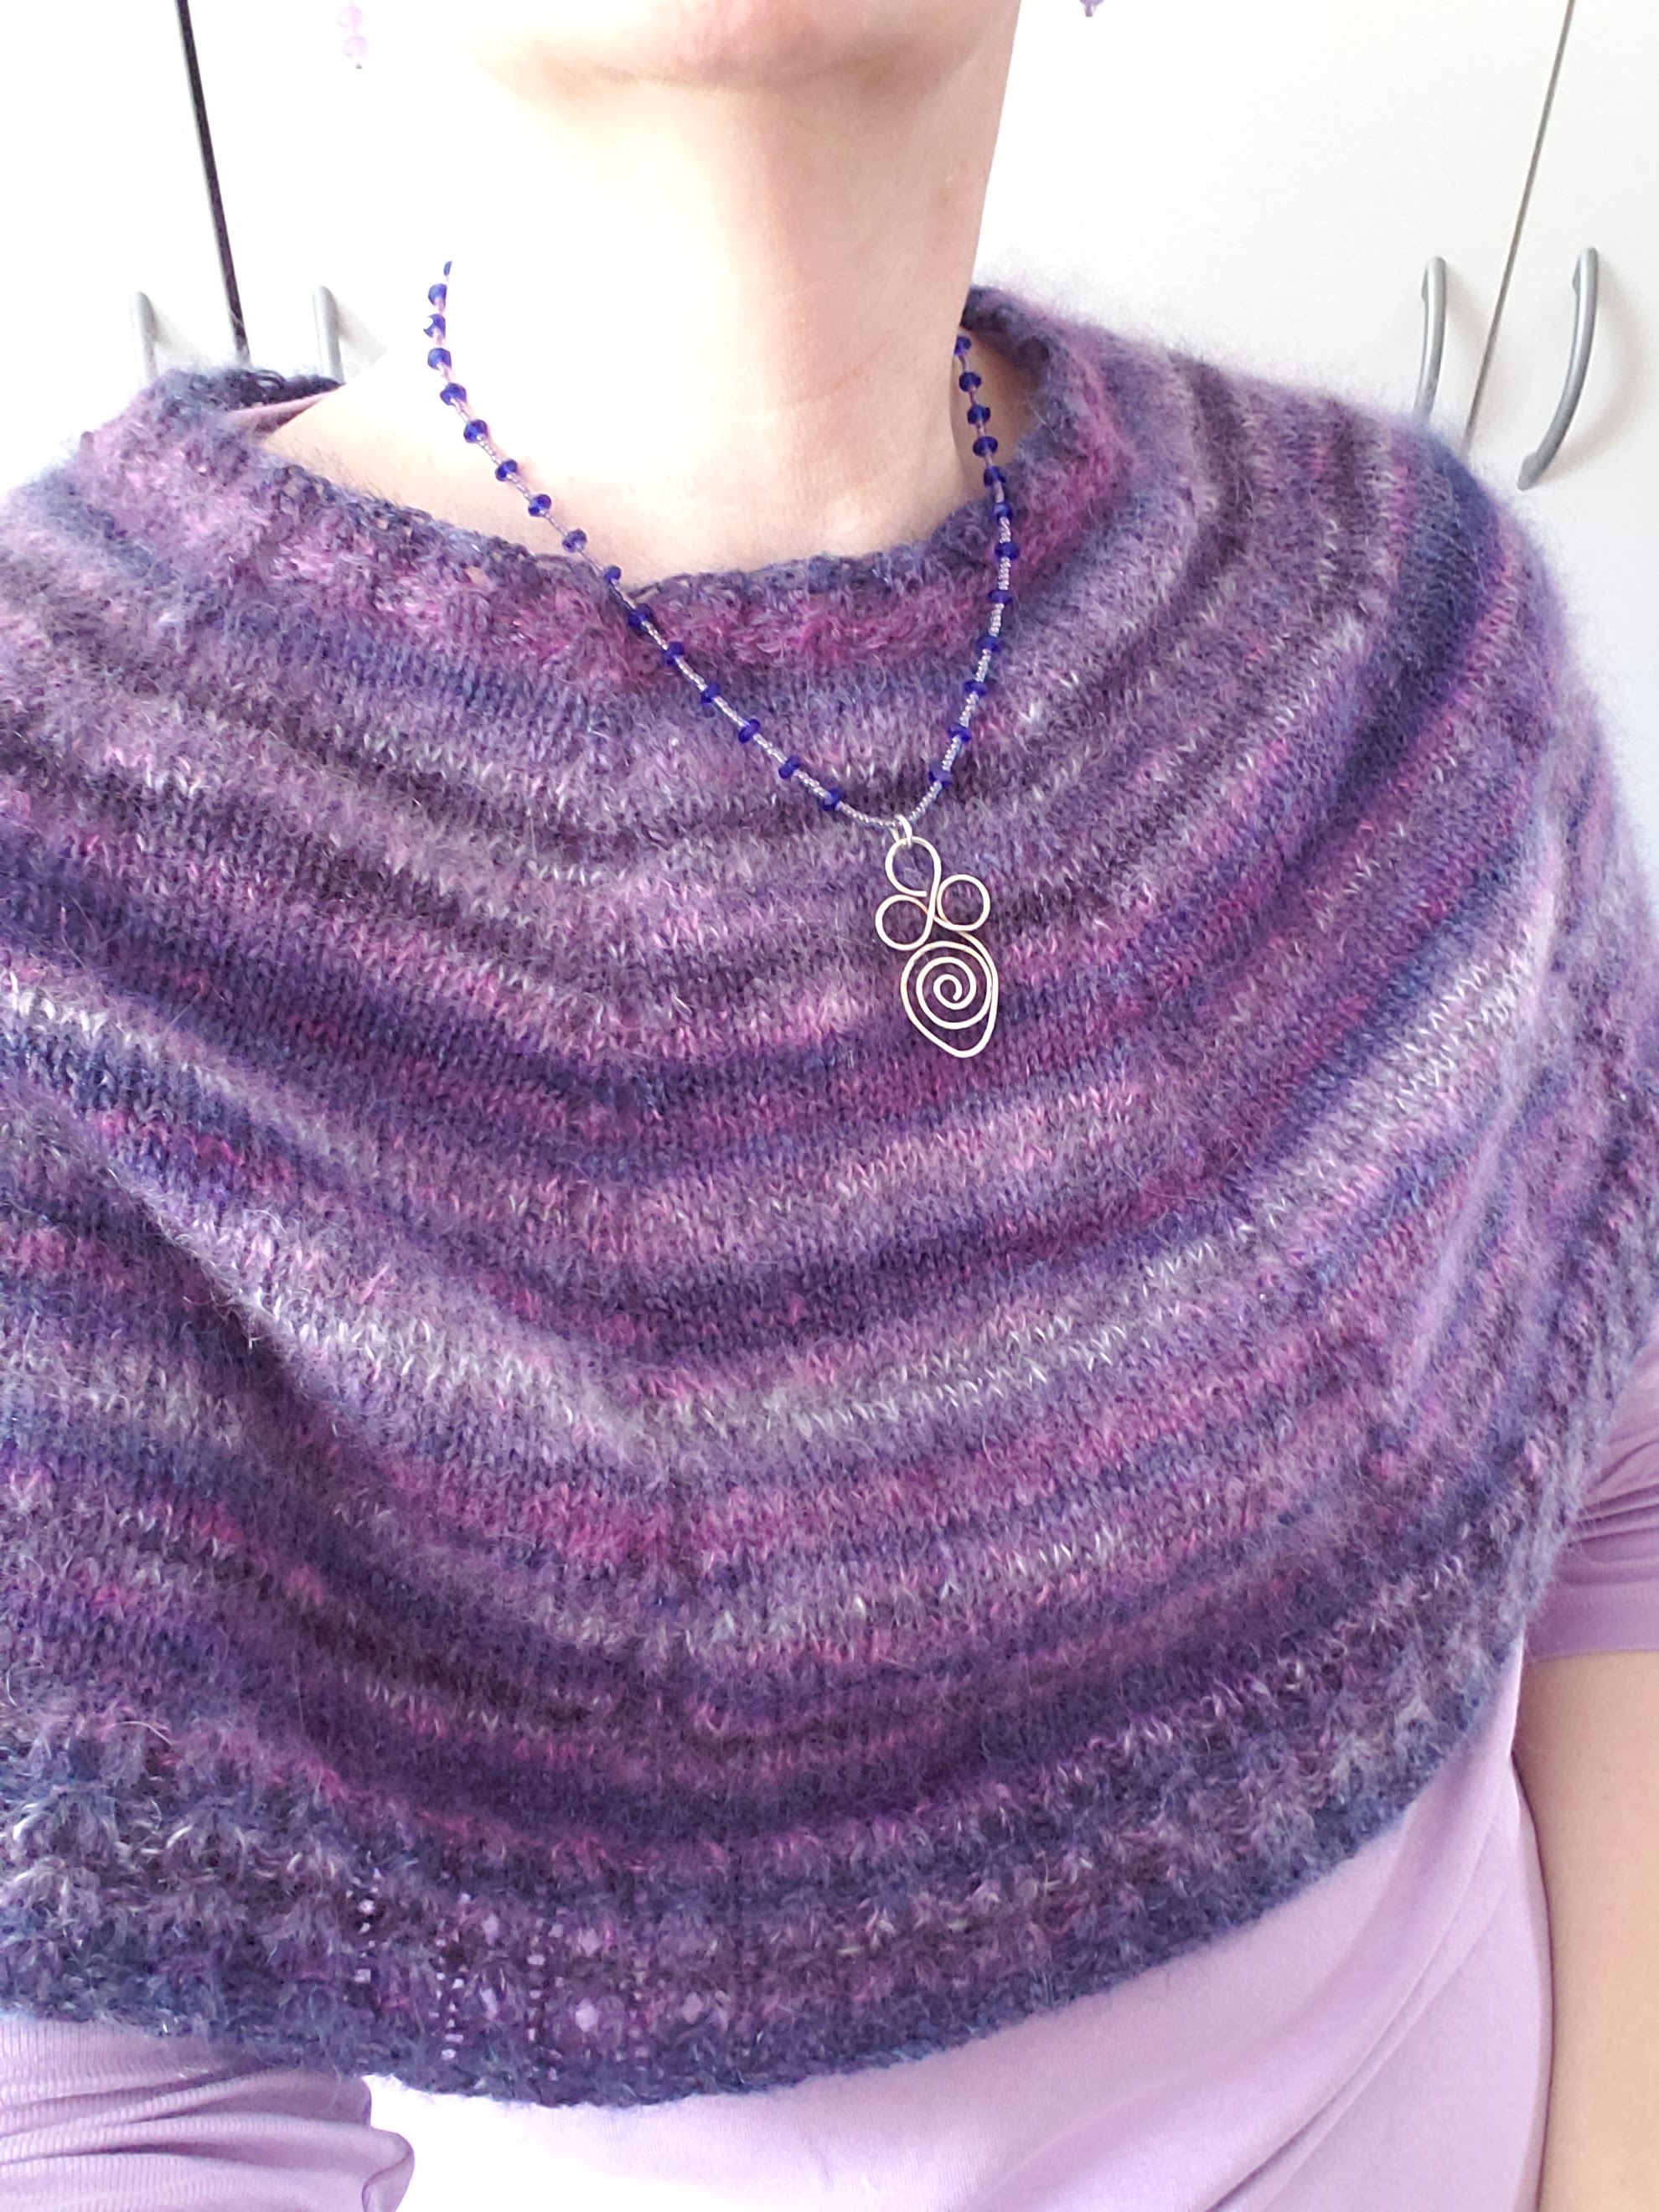
Materials: I used two leftover super fine yarns from my stash - Cascade Heritage Merino Sock yarn (01) and Sugar Bush Drizzle (01). I used about 460m of each, held together throughout. If you have one solid or heathered color, you could combine a variety of complementary colors as your second yarn. In my case, I used a variegated yarn as my second yarn and that is what created the lovely striping effect. You could use any yarn combination that gives you the desired gauge. If you need to alter your needle size to achieve this, that is fine.
You will need a 4mm circular needle. I suggest 16 inch and 24 inch if not using detachable cables. It is helpful to try on the garment during knitting, so having longer circulars is handy for that.
Note: my patterns are posted for free without annoying advertising pop-ups. I do this on purpose as some people are intimidated by aggressive advertising, and I want my patterns to be available to everyone. If you are in a position to show a little appreciation for my work, consider buying me a coffee ☕️ using the link on the home page. If you wish to knit items for sale using my patterns, please credit me as the designer and do not underprice your work!

Gauge: 17 stitches and 24 rows equals 4 inches on 4 mm needles. This works out to about 4.25 stitches and 6 rows to the inch.
Measurements needed:
Desired neck circumference - 25 inches
Shoulder circumference - 44 inches
Desired bottom circumference - at least 51 inches
Neckline edge to elbow - about 15 inches
Calculating your cast on: To calculate your cast on, take your desired neck circumference and multiply it by your stitch gauge per inch. In my case,
25 inches x 4.25 stitches per inch = 106.25
Since I know the yarn will relax and because I need the beginning stitch count to be divisible by 16 for the Octagon Donut formula to work, I went with a cast-on of 96 stitches (about 9% less than the 106 stitches calculated above.
In the pattern below, I am working with my 96 stitch cast on. If your cast on number is different, you will need to make adjustments to the stitch counts in the pattern. After every increase round, you will have added 16 stitches to the total count. I have highlighted in yellow, every place where you will need to make adjustments.
This garment also has some decorative stitches at the neckline and hem. The Mock Cable Pattern is as follows:
Round 1: (k2, p2); repeat to end of round
Round 2: (k1, yo, k1, p2); repeat to end of round
Round 3: (k3, p2): repeat to end of round
Round 4: (sl1, k2, psso, p2); repeat to end of round.

The Pattern
Cast on: Using a 16-inch 4mm circular needle, cast on 96 stitches. Join the work in the round, being careful not to twist. (Tip - to avoid the gap so often present at the join, cast on one extra stitch and slide it to the beginning of the left hand needle. Knit this stitch and the first stitch on the left needle together, pulling the yarn snuggly as you do so.)
Neckline:
First round: PM, (k2, p2); repeat to the end of the round.
Begin mock cable pattern:
Round 1: (k2, p2); repeat to end of round
Round 2: (k1, yo, k1, p2); repeat to end of round
Round 3: (k3, p2): repeat to end of round
Round 4: (sl1, k2, psso, p2); repeat to end of round.
Last round of neckline: (k2, p2); repeat to the end of the round.
Placing markers
Starting at your beginning of round (BOR), you will be dividing your stitches into 8 sections. Each section will be separated by a one stitch “spine”. All increases will be made around these spines. In my case, 96/8 = 12. So in each section I will have the first stitch surrounded by markers, will knit 11 stitches, then make a yarn over. Note: switch to the longer 4mm needle when you have enough stitches to make this comfortable.
Next round:
BOR, k1, pm, yo, K11, yo; *(pm, k1, pm, yo, K11, yo); repeat from * to end of round. (112 stitches)
Rounds 2, 3, 4, 5, 6: Knit around.
Round 7: (sm, k1, sm,yo, k to marker, yo) eight times. (128 stitches)
Rounds 8, 9, 10, 11, 12: Knit around.
Repeat rounds 7 - 12 (144 stitches)
Repeat rounds 7 - 12 (160 stitches)
Repeat rounds 7 - 12 (176 stitches)
Repeat rounds 7 - 12 (192 stitches)
Repeat rounds 7 - 12 (208 stitches)
Repeat rounds 7 - 12 (224 stitches)
Repeat rounds 7 - 12 (240 stitches)
I have increased every sixth round a total of nine times. From here on in, I will increase once more on the 18th round. To maintain the YOs along the spine stitch at regular intervals, I will continue making YOs every sixth row, but will follow them with a k2tog or ssk, to maintain the desired stitch count.
Next five rounds knit.
Next round: (sm, k1, sm, yo, k2tog, knit to 2 stitches before the marker, ssk, yo); repeat seven more times.
Next five rounds knit.
Next round: (sm, k1, sm, yo, k2tog, knit to 2 stitches before the marker, ssk, yo); repeat seven more times.
Next five rounds knit.
Next round: (sm, k1, sm, yo,knit to next marker, yo); repeat seven more times. (256 stitches)
The next 12 rounds are to add length before I begin the edging. Measure your length now to determine how much of this you need. Just be sure to end off with five rows of plain knitting before beginning the edging, and making YOs to maintain the appearance along the spine stitches as needed.
Next five rounds knit.
Next round: (sm, k1, sm, yo, k2tog, knit to 2 stitches before the marker, ssk, yo); repeat seven more times.
Next five rounds knit.
Next round: (sm, k1, sm, yo, k2tog, knit to 2 stitches before the marker, ssk, yo); repeat seven more times.
Next five rounds knit.
Set up for edging
Next round: (k2, p2); repeat to end of round.
Begin mock cable pattern:
Round 1: (k2, p2); repeat to end of round
Round 2: (k1, yo, k1, p2); repeat to end of round
Round 3: (k3, p2): repeat to end of round
Round 4: (sl1, k2, psso, p2); repeat to end of round.
Repeat these four rows three times more.
Next round: (k2, p2); repeat to end of round.
Cast off loosely in ribbing.
Dampen garment and block. Be sure to follow washing instructions indicated on your yarn labels. Enjoy your Knitter’s Kozy!


Comments
Post a Comment