Sawtooth Shawl Pattern

In my last post, I mentioned that I had been gifted a large quantity of laceweight yarn. Well, after weeks of knitting nothing but socks, I was ready for a change. One again, I went back to a crescent shaped shawl using Shawl Geometry Book II by Holly Chayes as my touchstone.
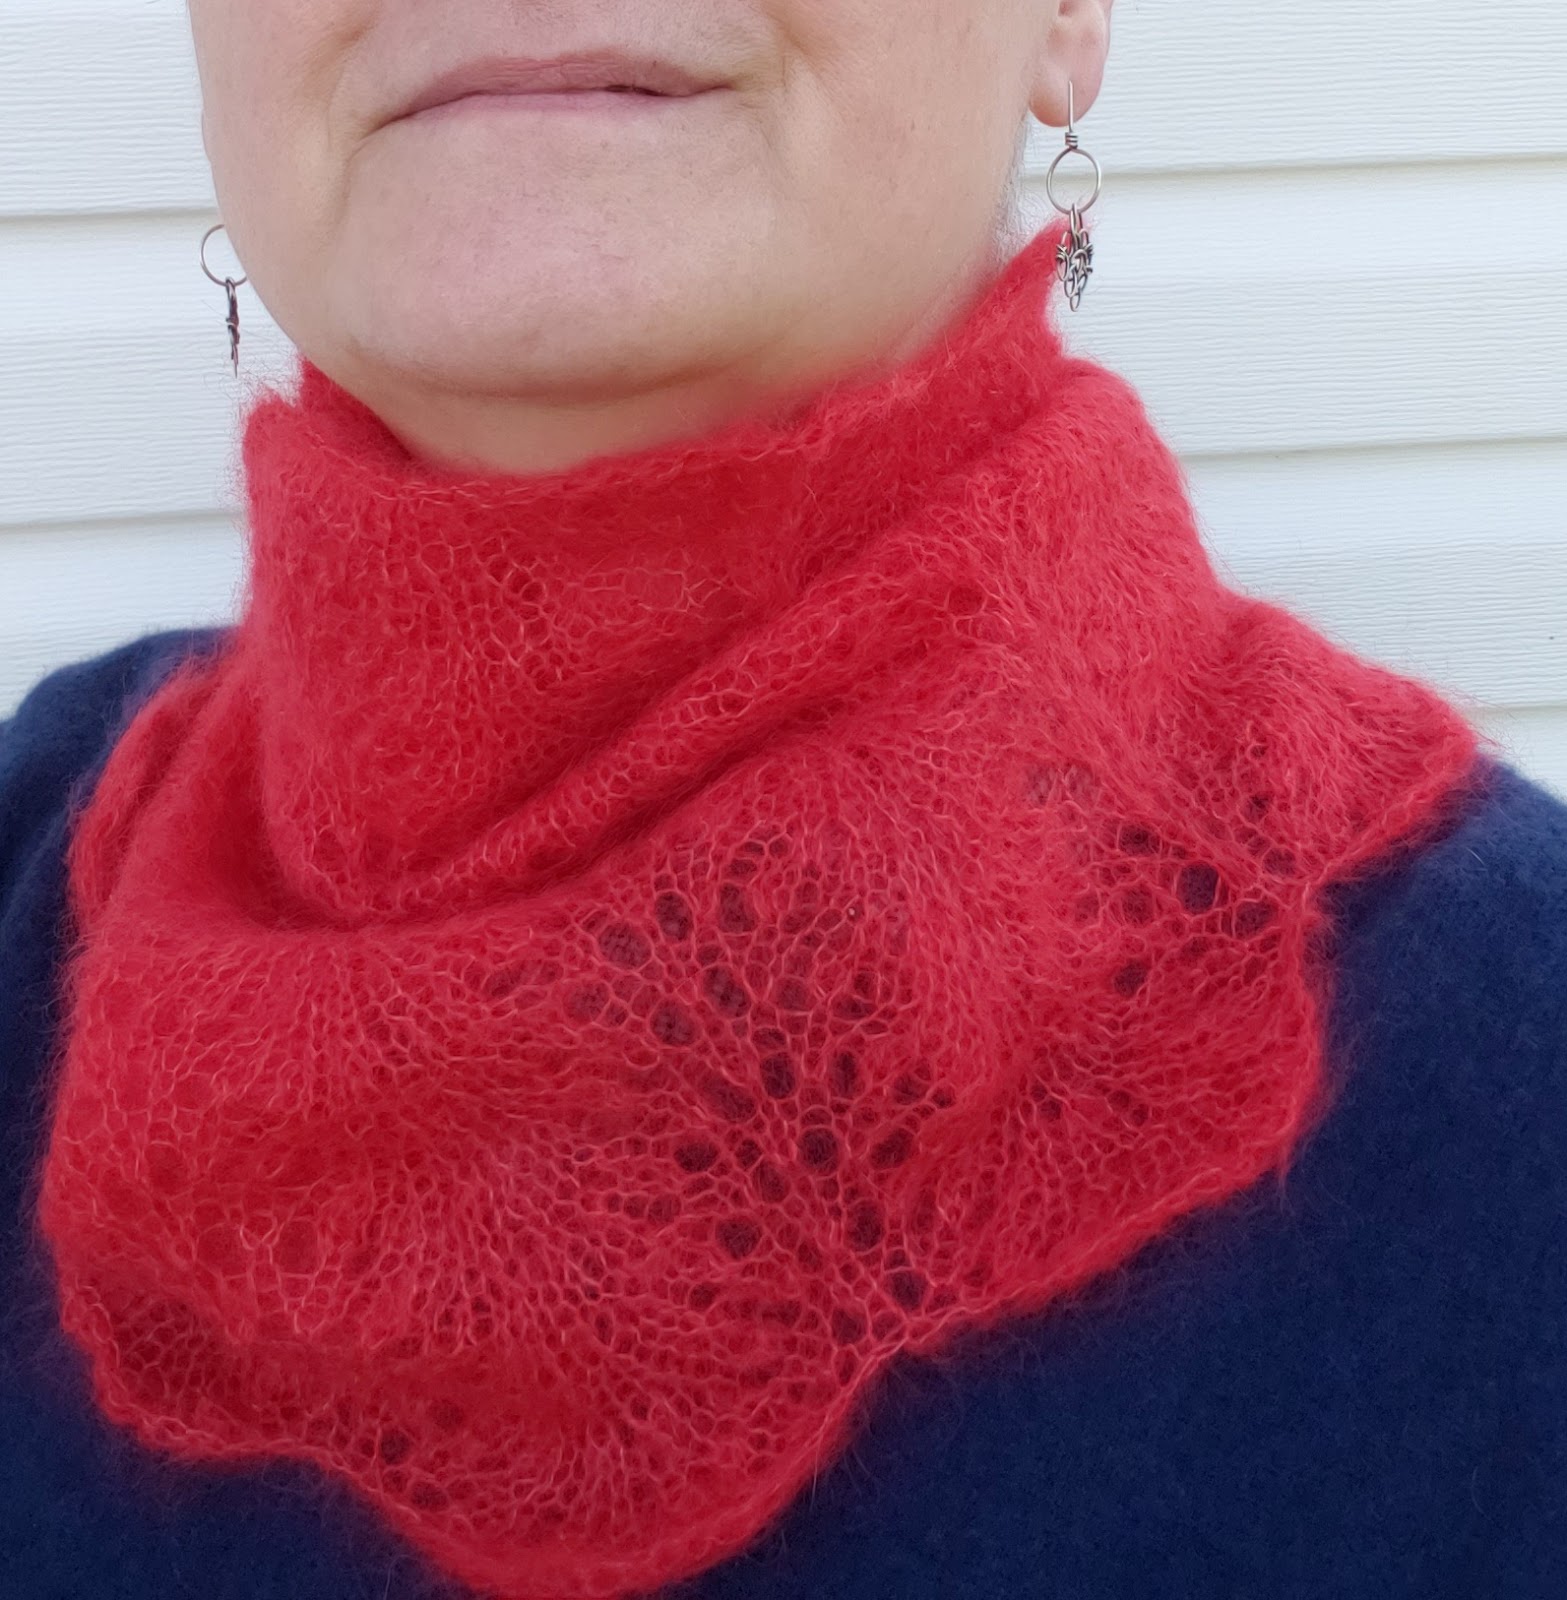
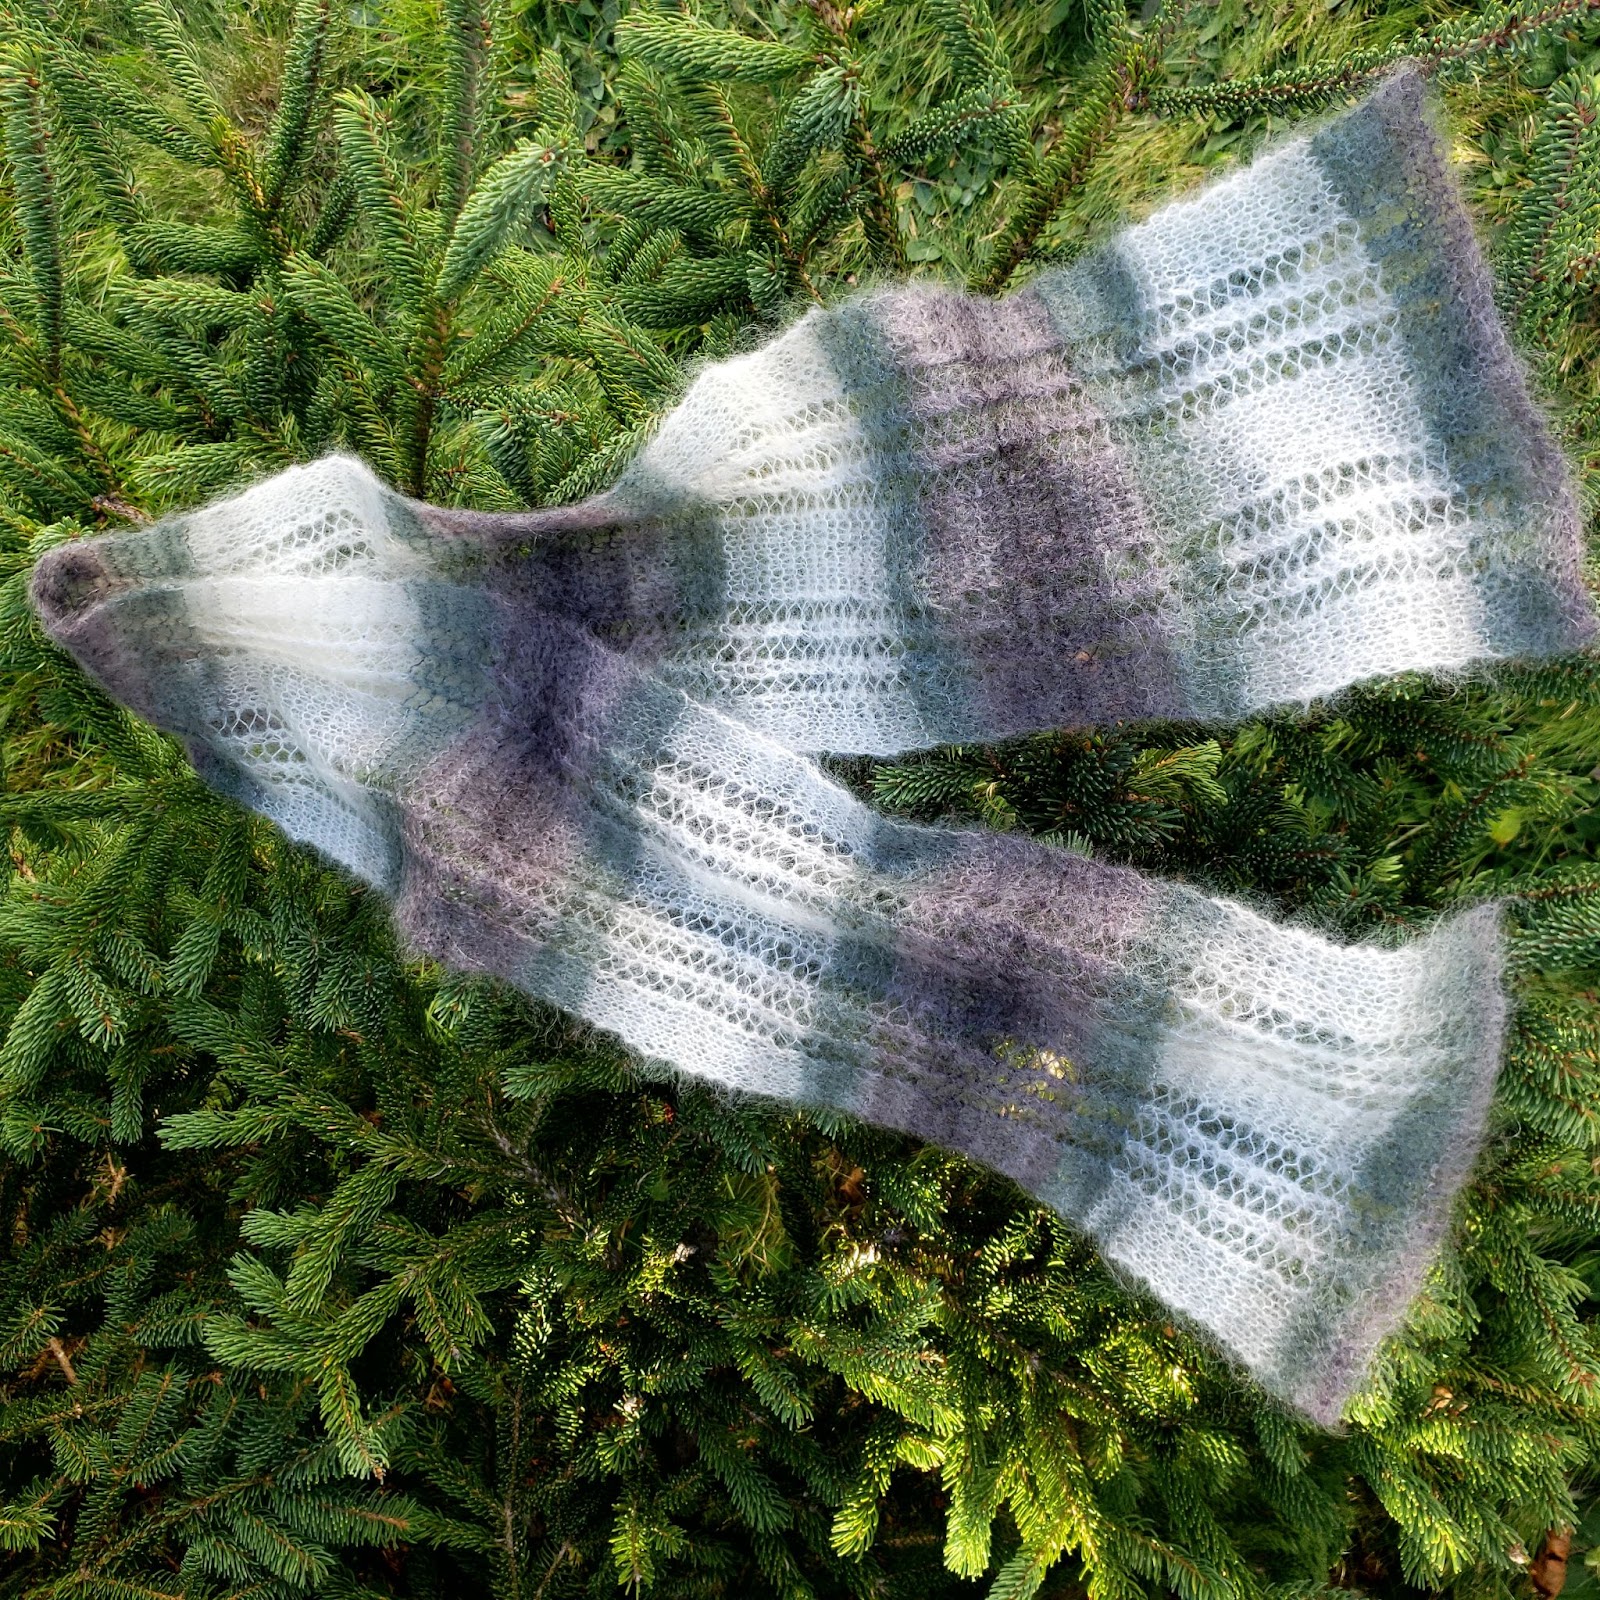
I pulled out a gorgeous ball of variegated laceweight and matched up two solid shades to complement it, one in a coral pink and the other in an earthy red. I decided I would hold two strands together (giving me an overall fingering weight), and would alternate the solid color throughout. I kept it simple, using stocking stitch throughout and doing something a little different for the border.
The result was the Sawtooth Shawl Pattern (see below).
Note: my patterns are posted for free without annoying advertising pop-ups. I do this on purpose as some people are intimidated by aggressive advertising, and I want my patterns to be available to everyone. If you are in a position to show a little appreciation for my work, consider buying me a coffee ☕️ using the link on the home page. If you wish to knit items for sale using my patterns, please credit me as the designer and do not underprice your work!
The Sawtooth Shawl Pattern
Materials: You will need three colors of laceweight yarn, preferably one variegated and two complementary solids colors. I started with three balls that were likely 400 m + long, but had lots leftover. The finished garment weighed 137 grams, so two standard 400 m balls size should be fine, if you are buying new. If you have bits of laceweight leftover from other projects, you might consider using a fresh skein to unify the other colors you ight choose to carry along with it.
Gauge: 10 stitches = 2 inches in stocking stitch on 4 mm needles.
Tools: I used a 4mm circular needle. You will need at least a 32inch length. Scissors and a tapestry needles will also be handy. You will also need stitch markers
Cast on 13 stitches holding two strands of yarn together throughout.
Row1: K2, (PM, yo, k1) 4 times; PM, k1, (PM, k1,yo) 4 times; PM, k2.
Row 2: K2, purl to last two stitches (slipping each stitch marker as you come to it), k2.
Row 3: K2, (SM, yo, k to next marker) 4 times; SM, k1, (SM, k to next marker, yo) 4 times; SM, k2.
Row 4: K2, purl to last two stitches (slipping each stitch marker as you come to it), k2.
Repeat rows 3 and 4 throughout the pattern. Keep track of your rows to ensure you change color regularly.

I chose to change the solid color on row 10, then on every 20th row after that. You may choose to use the same two strands throughout, or opt for random color changes. The choice is entirely yours.
I continued repeating rows 3 and 4, and changing colors regularly until I has 102 rows completed. Then I maintained my existing colors for 12 more rows, but completed these in garter stitch while maintaining the increases. I wanted the bottom of the shawl to be a bit heavier and ensure it would lay flat.
Sawtooth Edging: To complete the edging, ensure your right side is facing for the next row.
Next row: k2, (yo, k2tog), repeat to the last two stitches, k2.
Next row: I chose to knit across this row, k2tog in the middle of the piece to ensure I had an even n umber of stitches for the picot cast off.
I learned the Picot Cast Off from Donna Jones's YouTube Channel. I've enclosed the link so you can watch her demonstration. I encourage you to check out here video as it will help you to visualize what needs to happen. Since I used the variation that she mentions at the end, I'm also including written instructions below.

Cast off the two new stitches and then cast off the next four stitches. Once again, slip the stitch remaining on your right hand needle, back to the left, cast on two new stitches, and repeat the process.
Continue across the row.
If you have an even number of stitches, you will reach a point where you have one stitch on the left needle and one on the right. Do one more picot, slipping the right hand stitch back to the left needle and casting on two stitches, then casting off all four stitches.
Weave in your ends, dampen/wash and block.


Comments
Post a Comment